I love all the mason jar crafts out there! Our Halloween "ghosts"...
Mod Podge, orange tissue paper, and black construction paper. This was a fun one. Plus, you have to love it when you're working on stuff like this and your table looks like THAT....
I used the instructions from Our Best Bites here.
Showing posts with label Mod Podge. Show all posts
October 10, 2013
June 26, 2012
Fairy Wings (or Bug Wings, depending...)
I saw this video tutorial on making fairy wings out of wire clothes hangers from Threadbanger recently and figured I'd have a go. Of course, with three little ladies staying at our house last week.....I had 5 (FIVE!) sets to make.
I ran out of hangers on the last pair so in the middle you can see my little dude got 'bug' wings. He didn't seem to mind.
Since these are for little kids, I cut each hanger into two pieces and followed the directions from there. I imagine for an adult you would want the whole hanger for each part, but for kids half the hanger worked perfectly.
Instead of twine to bind the parts together, I used duct tape. Worked like a charm.
Also, I used knee-highs. More than enough stocking to go around.
And, it would have been nice to have ordered some different colored knee-highs, but alas Walmart only had the black ones (or tan) the day I was in.
We let the kiddos decorate however they wished. They LOVED this project. I now have glitter everywhere.
I ran out of hangers on the last pair so in the middle you can see my little dude got 'bug' wings. He didn't seem to mind.
Since these are for little kids, I cut each hanger into two pieces and followed the directions from there. I imagine for an adult you would want the whole hanger for each part, but for kids half the hanger worked perfectly.
Instead of twine to bind the parts together, I used duct tape. Worked like a charm.
Also, I used knee-highs. More than enough stocking to go around.
And, it would have been nice to have ordered some different colored knee-highs, but alas Walmart only had the black ones (or tan) the day I was in.
We let the kiddos decorate however they wished. They LOVED this project. I now have glitter everywhere.
March 26, 2012
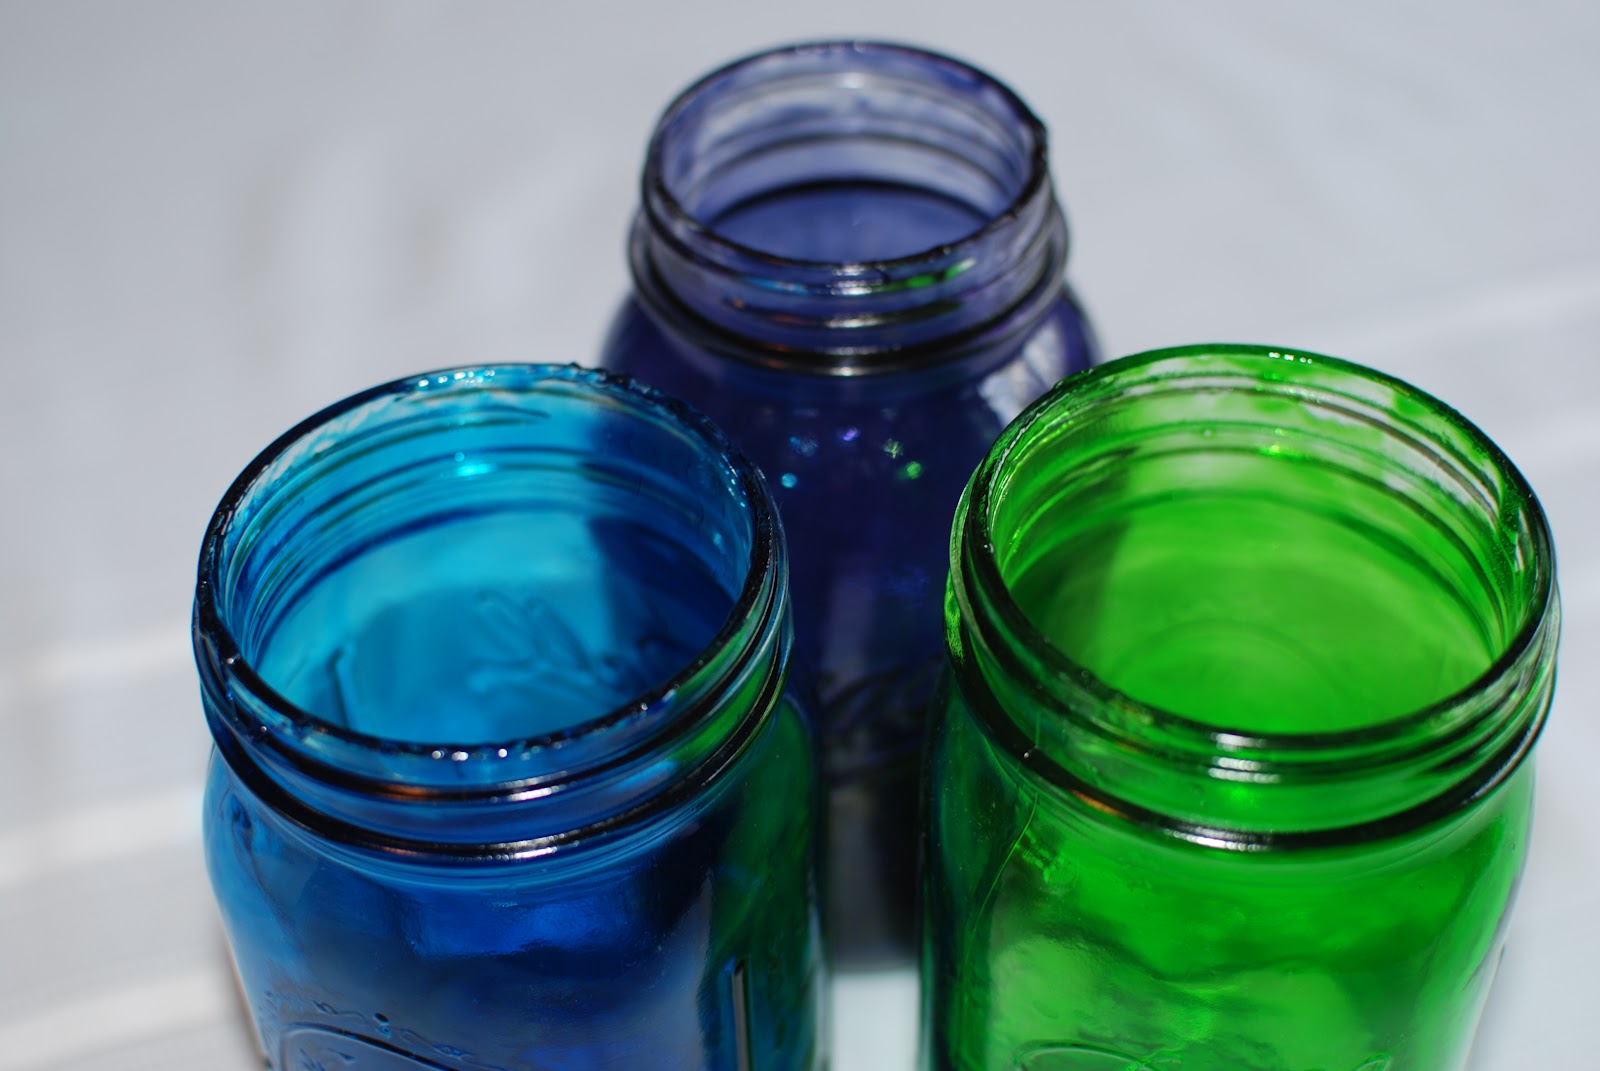
Dyed Mason Jars
This started out as a project gone awry.
The idea is a great one, and it looked SO easy, but DANG the drips really don't disappear.
Essentially, you mix water, food coloring, and Mod Podge together, and coat the inside of the jar. Let the jar dry and voila! But my streaks really did not disappear. I let them dry longer, as recommended. In the oven. For 2 hours! No dice.
So I figured it was too watery and tried a few different tricks. My jars are really dark, but I LOVE them...
The only spots that are 'drippy' are around the lids, which is fine, because they'll be covered. By lids.
Here's what a did differently than the instructions:
1. I used no water. I mixed food coloring directly into the Mod Podge. The food coloring was watery enough that it allowed the Mod Podge to roll around inside the jar just fine.
2. I mixed the coloring and Mod Podge in a seperate bowl, then poured it into the jar. Otherwise you end up with white globs on the bottom of your jar.
3. I kept the jars upside down for the entire drying process.
4. I let them dry in the oven for 2 hours. Seriously.
I had a little coloring left over, so I used a paint brush to apply the remaining coloring to some smaller jars. They're streaky too. Seems like you really need a very thick coat of this stuff to keep it from being streaky.
April 15, 2011
Kids Lacing Cards Tutorial (learn to sew)
An easily printable version of this tutorial can be found at:
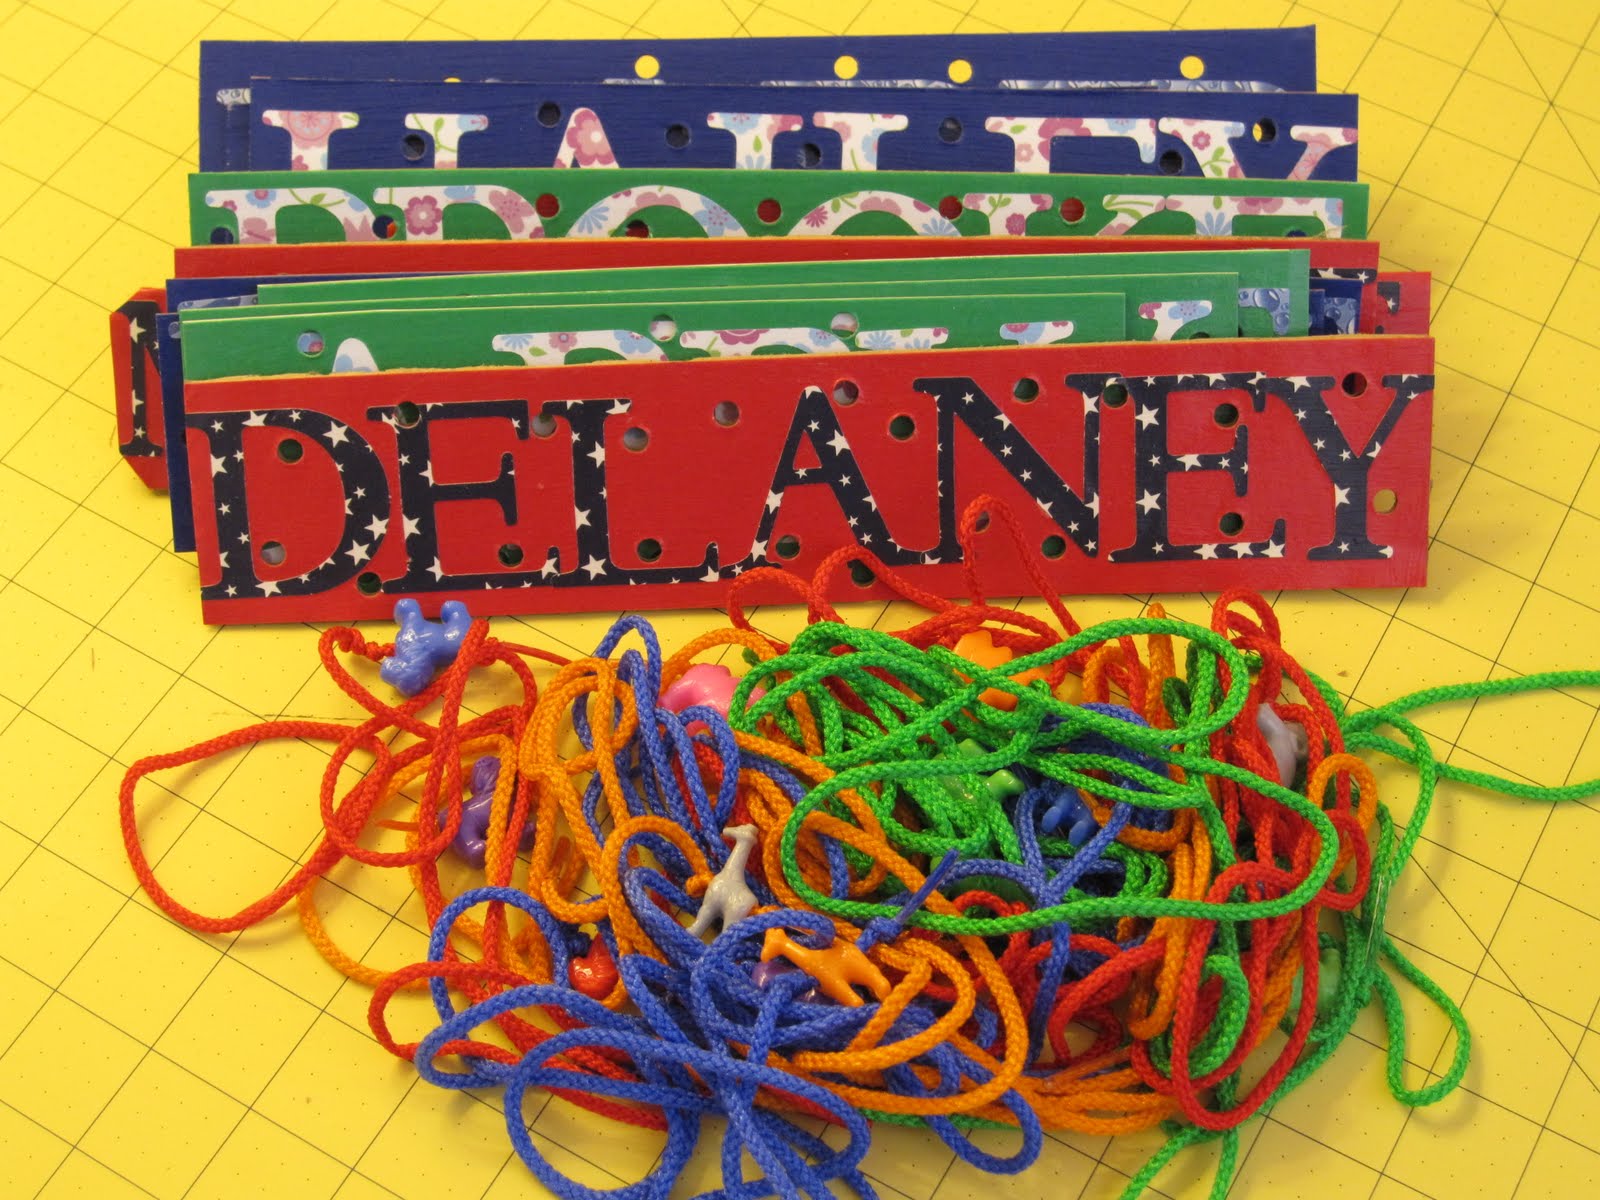
Do you remember having those little cardboard figures with the holes punched out that you could practice ‘sewing’ with shoelaces? I looked everywhere for them for my daughter’s class and had no luck, so figured I’d better make my own. The beauty of this project is that it’s easily personalized. Use a name, a photo, a bit of original artwork…whatever you have on hand!
Materials: Mod Podge and paint brush, hole punch, paper for the background, thin cardboard (such as a Yoplait box or the cardboard backing of a notepad), shoelace or thick string, scissors or rotary cutter.
Optional: photo or letters or artwork (to make the project personal!), bead, brayer
1. Using the paint brush, apply a thin layer of Mod Podge to the cardboard. Place the background paper on the cardboard and flatten. Do your best to work out all the air bubbles. Use a brayer if you have one (not required). Allow to dry.
2. Repeat with the opposite side of the cardboard. Allow to dry.
3. Using the paint brush, apply a thin layer of Mod Podge on top of the background paper. Lay the photo/letters/artwork as desired and smooth with your fingers, working out all air bubbles. Allow to dry.
4. Using the paint brush, apply a final layer of Mod Podge over the entire top. Allow to dry.
5. Cut out your design as desired. Mine were all straight names so I used my rotary cutter (yup, definitely needed a new blade after this project).
6. Punch holes as desired throughout the project.
7. Knot the end of the shoelace several times to keep the lace from pulling through the project. If you want to add a bead (not required), add the bead and then knot again in front of the bead so the bead will not come off. I thought having the bead made it a bit more fun and would also help the string not pull through the project.
8. Have at it!
9. And if you’re like me…if one is good, fifteen is better. Mama went a little overboard on this one, eh?
If you make any lacing cards, I would LOVE to see them! Please take a moment to upload photos on my Flickr site:
Feel free to make as many of these as you’d like for personal use only, and give credit where credit is due.
April 13, 2011
On the craft table...
Doesn't this just look like a whole table full of FUN???
More on that (non-sewing, for sewing) project another day.
I also just received this gorgeous package in the mail....I get all jittery with excitement! It's part of my master plan to get over my fear of sewing zippers. I feel like I can never keep my seams quite straight when I sew them on. Any tips?
I have plans for a few of these zippers, but I really can't wait to find out what all these pretty ladies will end up in or on. I ordered them from zipit on etsy,and lemmie tell you, for $0.50 per zipper I'd definitely do it again. Super cheap and packaged so beautifully. Hopefully they'll hold up well!
Have a fabulous Wednesday!
April 9, 2011
'Close Enough' Tinkerbell Shoes
It's absolutely true that you can do almost anything with ModPodge. I LOVE that stuff. I recently stumbled across this Tinkerbell Shoes Tutorial from Wildflowers & Whimsy and couldn't resist. We already had a pair of plain green shoes (clearance rack at Walmart! ALRIGHT!) so we got right to work with the glitter and the ModPodge. The little white ball was superglued on - I seriously have no idea how on earth you'd really be able to sew a stitch through the finished glitter/ModPodge/sneeker to sew it on - those shoes are pretty stiff!
Little Lady A was so excited about her Tinkerbell Shoes I had a hard time convincing her to take them off for naptime!
Subscribe to:
Posts (Atom)