Showing posts with label tutorial. Show all posts

March 7, 2014

Book Cover

We have a birthday party this weekend for a (soon-to-be) 7 year old.  I figured most little girls love arts and crafts, so I sewed up a personalized cover for a sketch book.  Between the book and a few pretty pens, we're in business! 


 I added a little pocket to the inside cover for papers or pens or whatnot.


I love how it turned out.  Although the size is different, I used this tutorial from Delia Creates.

January 16, 2012

T-shirt Quilt (mini Tutorial)

One more t-shirt quilt FINISHED!


I have been promising the hubs a t-shirt quilt for a good 5 years now.  Imagine his surprise on Christmas when I actually had it done!

Assuming you have a basic knowledge of quilting....here's how I use t-shirts to make a quilt the easy way:

1. I cut apart all the t-shirts I'd like to use.  If there is a small patch on the front or sleeve of the t-shirt I want to save, I will cut that out too, and applique it to one of the quilt blocks later.

2.  Based on the t-shirts, determine what size you want your blocks.  I prefer to make all the blocks the same size, so the quilt is easiest to put together.  Usually this means the blocks are 12 to 13 inch squares for adult size t-shirts.  I determine the size of the blocks by using the largest t-shirt image.  Sometimes you'll have to add a strip or two of fabric to a small shirt - no big deal.  They sew up quick and easily.

3.  Cut all the t-shirts into blocks.  Cut the same number of squares out of interfacing.  I get the Pellon interfacing you can get by the bolt (10 yards for $9.99 - or even cheaper with a coupon at JoAnn's).  It takes me the better part of a bolt to make one quilt.

4.  Iron the interfacing to the t-shirts.  USE A PILLOWCASE (or other piece of cotton fabric) BETWEEN THE IRON AND THE T-SHIRT or you will melt the printing on the t-shirt.  I learned that the hard way.  If you have any patches, iron interfacing onto the patch as well.


5. If you have any patches to sew onto the blocks, go ahead and do that now while they're all in pieces.  It's much easier than negotiating the whole quilt top.

6. Lay the blocks out and decide how you want the quilt to look.  I try to balance the light and dark blocks, but really - it's a memory quilt, so you can't go wrong.


7. Sew her up!  I use a normal needle.  The interfacing will help keep the blocks from stretching (dang knits!!!).  I sew the blocks into rows, then sew the rows together.

8. For my husband's quilt, I quilted it by sewing along the seam lines, then on either side.  I did that both horizontally and vertically, and used invisible thread on the top.  I also swear by my walking foot.


9. And since he's (obviously) a Virginia Tech Hokie, I used orange flannel as the backing.  I left it a bit larger than the quilt top, and folded it over the edge to bind it.  I did it ALL with the machine.  I really don't like quilting by hand at all, if I can help it!


I love how his quilt turned out!  Now if I'd only work on mine.  But really, when do we sew for ourselves???  Not often enough.

October 28, 2011

Jake and the Neverland Pirates costume tutorial

Of all the possibilities in all the world, my son wanted to be Jake from Jake and the Neverland Pirates for Halloween this year.  We do love Jake and the Neverland Pirates in our house.  So I got a-sewin’.  Turned out pretty cute!


A great thing about Jake is that his outfit is supposed to be a bit ‘scrappy’…..so I didn’t bother finishing off any of the raw edges.  I simply zig-zag stitched everything (I’ll spare you from writing that in basically every line of the instructions).  Adds to the Jake allure, in my opinion!

You could certainly add Jake’s boots and a sword, but since there’s no way my 2 year old is going to wear them, I’m not making them this year.  Maybe someday I’ll do those as well and update the tutorial.  Time will tell.

If you would like an easily printable version of this tutorial, one can be found at:
http://www.scribd.com/doc/70680698/Jake-and-the-Neverland-Pirates-Costume-Tutorial-Public

Here’s the basic how-to:

Shirt:

- Make a pattern from a t-shirt for the shirt body (cut on a fold at the left side) as well as the sleeve (cut on a fold at the top).


- Cut out white fabric for Jake’s shirt and sleeves.  Cut off the bottom 4 inches of the white shirt in prep for the next step.

- Cut two 4 inch rectangles of black fabric to use as the bottom of Jake’s shirt.  Cut the 4 inch rectangles the length of the bottom of the shirt front (or back). 

- Right sides together, sew one of the black rectangles to the front shirt piece and the other rectangle to the back shirt piece. Iron the seam flat.

- Right sides together, sew the shirt front to the shirt back at the shoulder seams. 

- Right sides together, sew the shirt at the side seams.

- Cut a v-shaped notch in the neckline at the front of the shirt.

- Sew the underarm seam of the sleeve. 

- Cut a v-shaped notch on the front side of each sleeve.

- Matching underarm seams, pin the sleeve to the shirt right sides together, and sew sleeve into the shirt.

- Using a piece of black string or yarn, sew the ‘x’ detail to the front v-shaped notch on Jake’s shirt.

Admire your handiwork!  You’re halfway done!

Vest:

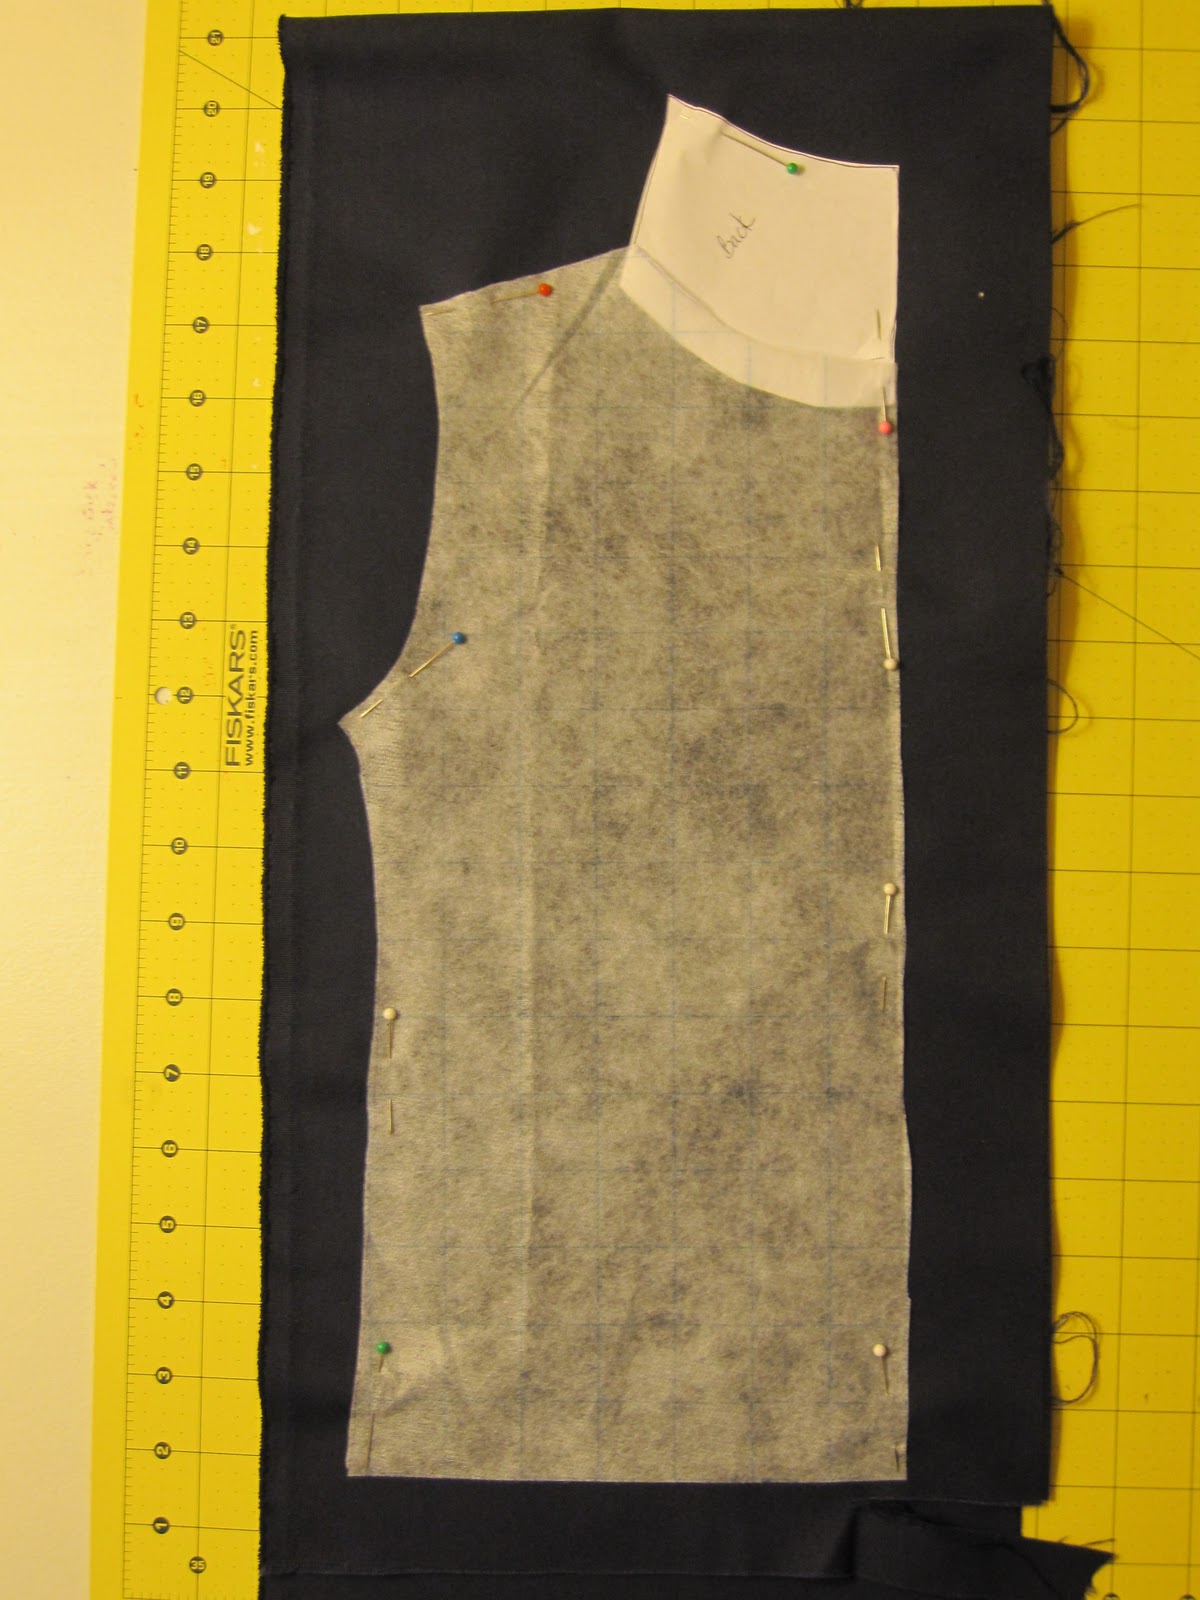
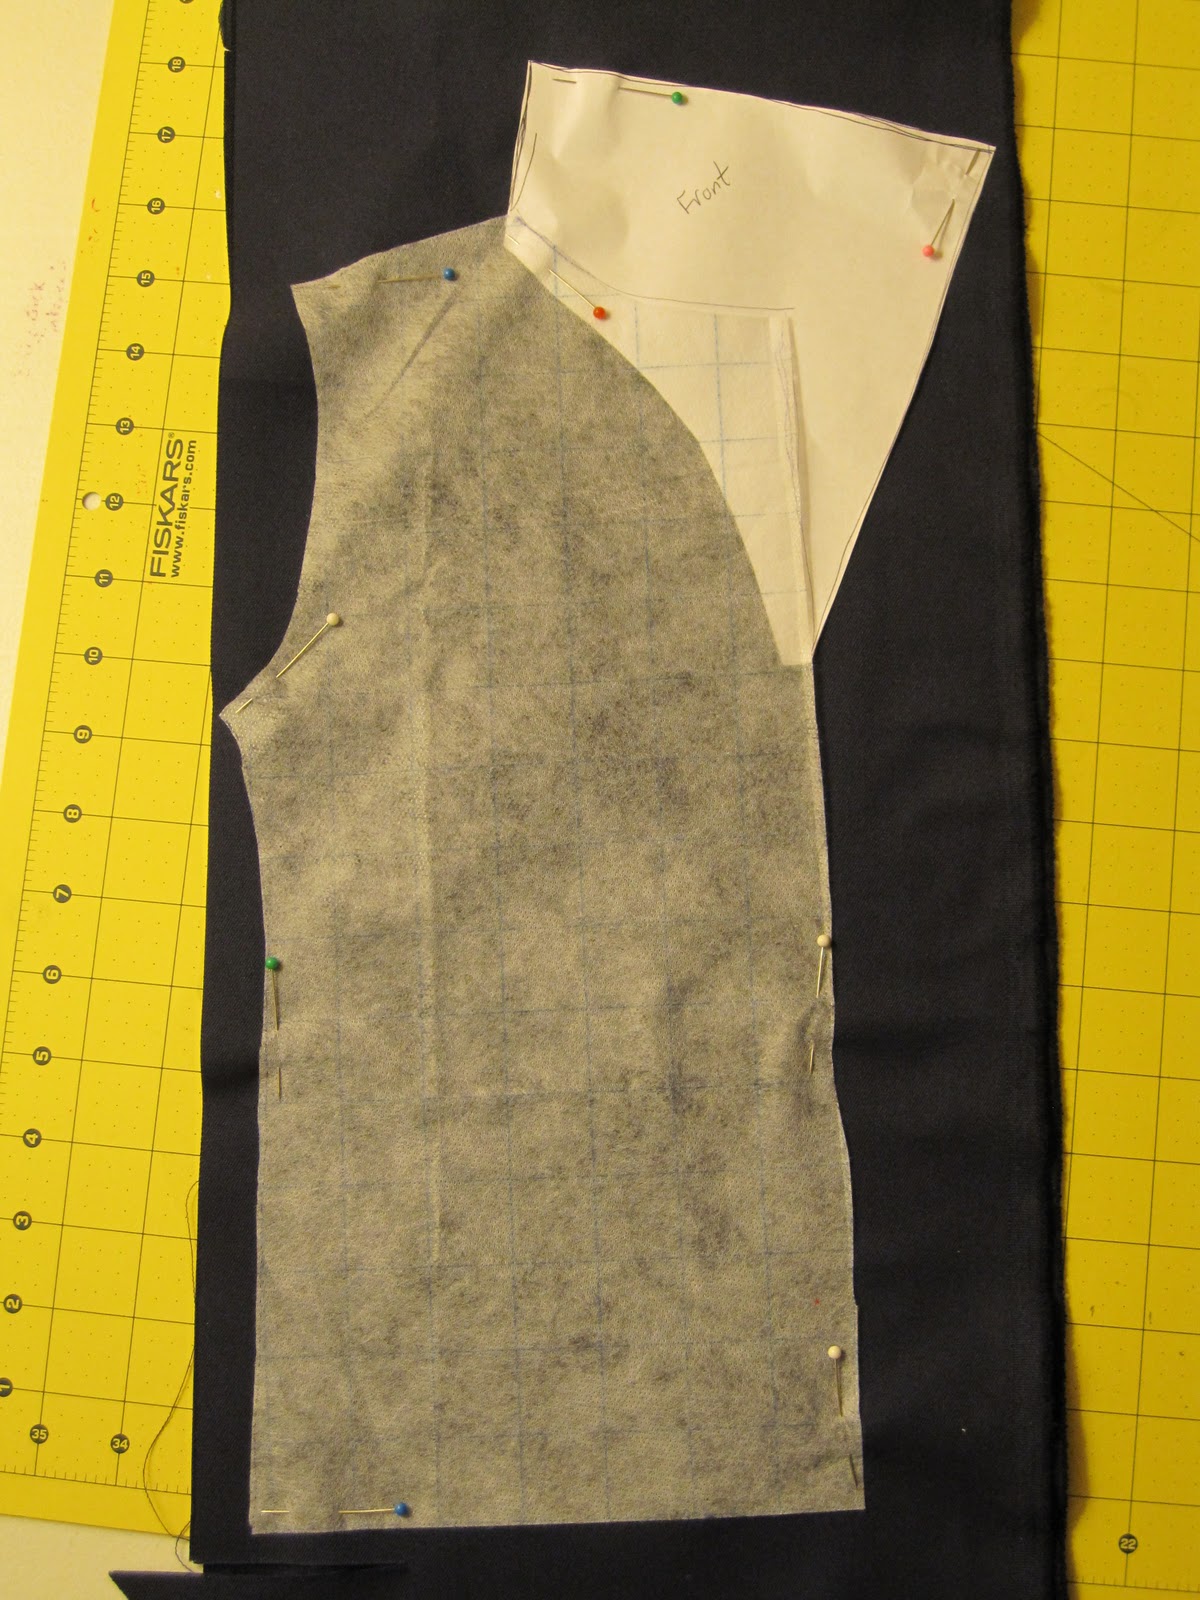
- Using the pattern you created for Jake’s shirt, add a collar (for the back) and a collar with extension (for the front).


- Cut the back piece on a fold, but remember you will need TWO separate front pieces since Jake’s vest is open at the front!

- Right sides together, sew one front piece to the back piece at the side seam and the shoulder (from the top of the arm hole to the tip of the collar).  Repeat with the other front piece. 

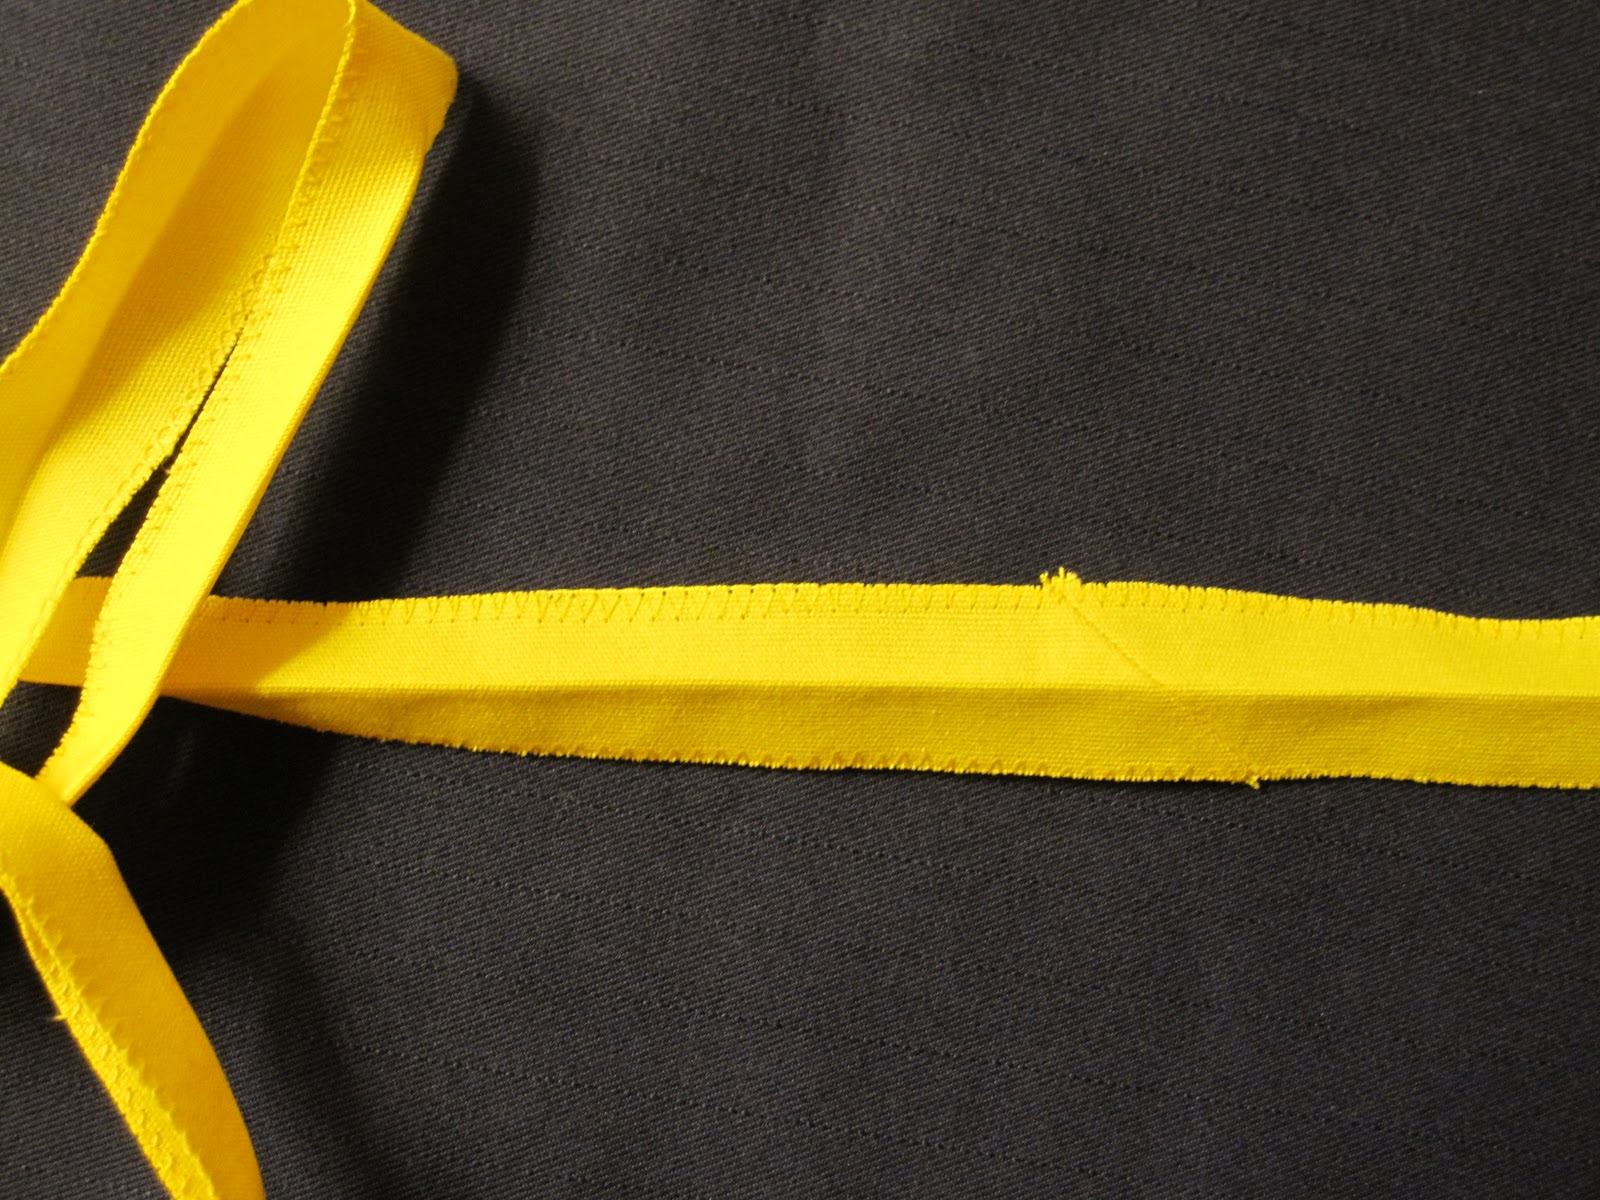
- Cut a 1-inch strip from yellow fabric for the edging on Jake’s vest.  Since it will need to be long enough to go around the entire edge of the vest, make sure you cut enough length.  I had to sew several strips together to make it long enough.  Zig-zag both edges of the strip and iron in half to create a crease.

- Sew the edging around the entire outside edge of Jake’s vest.  I started at the back middle of the collar – next time I’d probably start at the back middle of the bottom of the vest.


My Jake vest had a seam down the middle of the back…I didn’t have enough navy blue fabric for the entire back, but I made it work!

- Sew four yellow buttons (or sew four yellow circles, if you prefer).

Headband:

- Cut a 3 inch strip of red knit or any stretchy red fabric (I used an old red t-shirt). 

And there you have it! 

If you make a costume, I would LOVE to see it!  Please take a moment to upload photos on my Flickr site:


Please give credit where credit is due.

May 30, 2011

Kids Lanyard Tutorial


There are about a billion different ways to sew up a lanyard.  Here's how I did it....


1.     Cut one rectangle of fabric:  3 inches wide by 35 inches long

 (adjust length as needed – my 35 inch length worked well for a preschooler)

2.     Iron a crease down the middle of the fabric, lengthwise.  Open the fabric.

3.     Fold each edge of the fabric into the center crease and iron.


4.     Fold at the center crease and iron.


5.     Topstitch 1/8” from each long edge.

6.     Zigzag stitch the short ends to keep them from fraying.  You can get fancier if you’d like, but really – it’s for kids.  They won’t care.
7.     Sew a small piece of Velcro to one end (my piece was about ¾” long).
8.     Sew the other piece of Velcro to the other end.  Make sure you sew this piece on the opposite side so that the lanyard lays well when worn.  If you get confused – pretend you’re wearing the lanyard to figure out where to place this piece of Velcro.
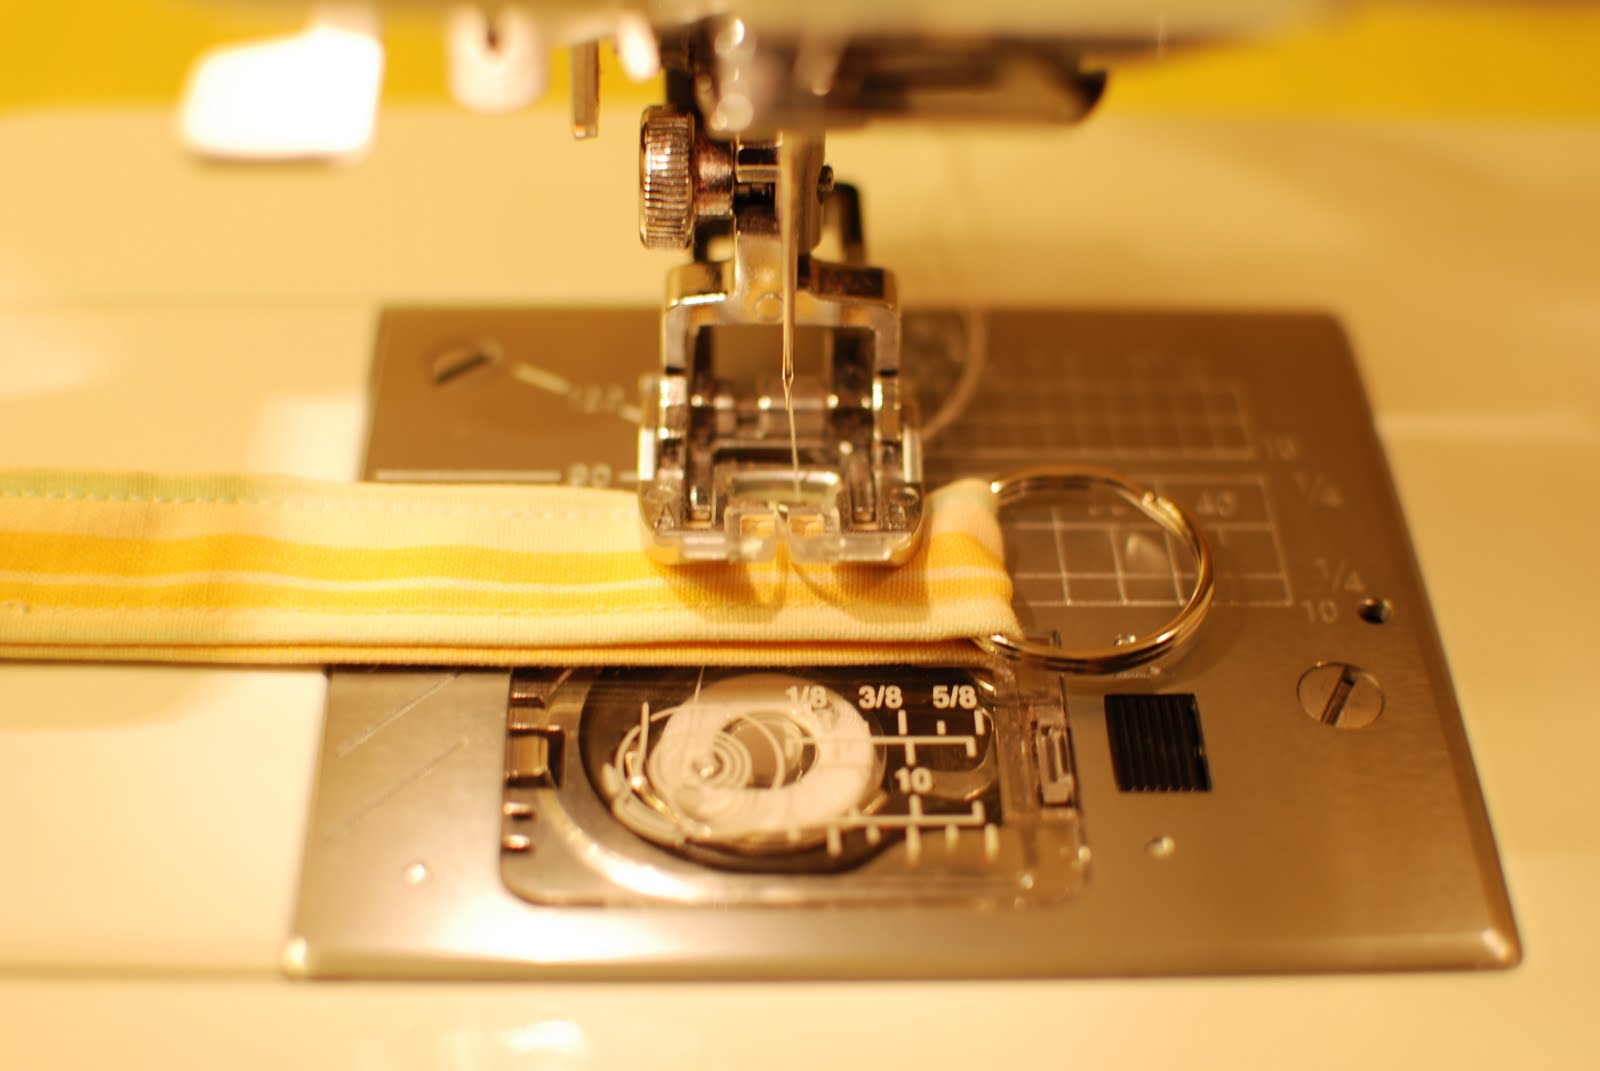
9.     Sew a ring to the center of the lanyard.
10.     Attach swag!

I made a set of these for my daughter’s preschool class using some fun toy carabineers and spring loaded clips I got from JoAnn Fabrics.  I attached a lip gloss and silly bands to each.  The lip gloss idea came from blogland and I wish I could remember where I saw it!  If someone knows, please email me!
If you would like an easily printable version of this tutorial, you can find one at:

April 15, 2011

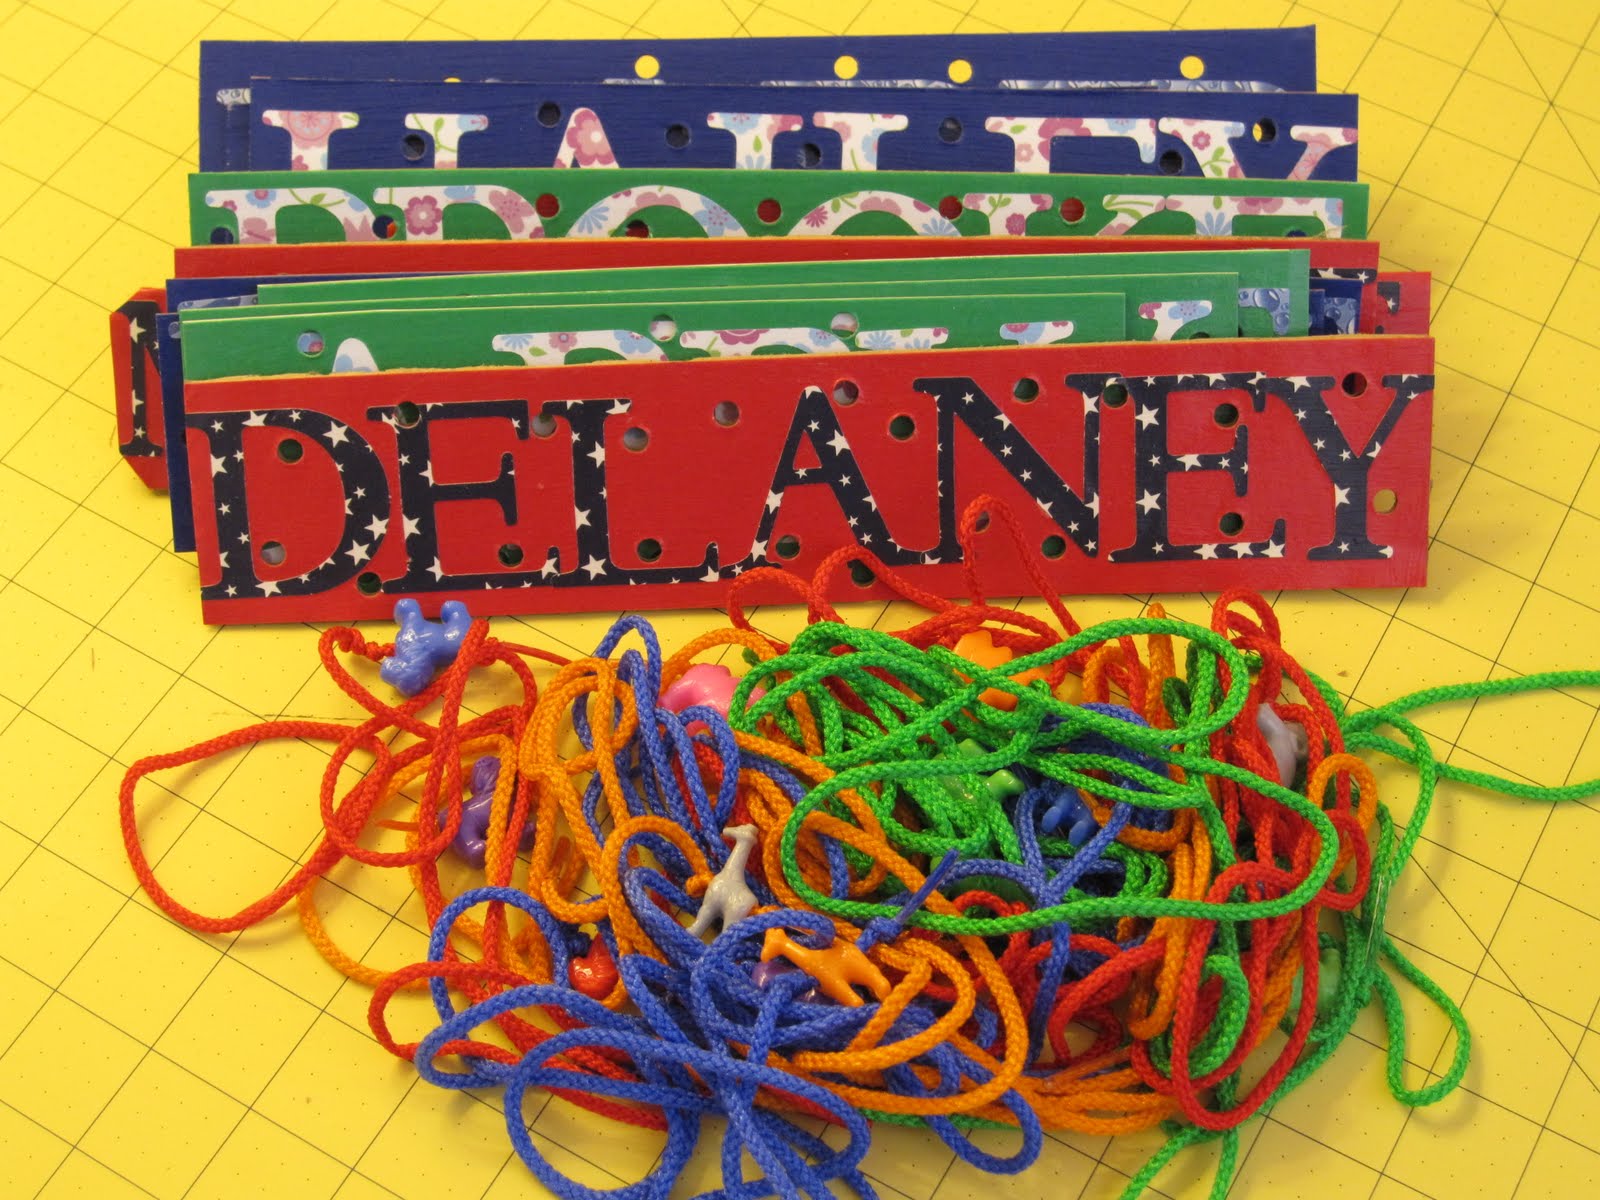
Kids Lacing Cards Tutorial (learn to sew)

An easily printable version of this tutorial can be found at:


Do you remember having those little cardboard figures with the holes punched out that you could practice ‘sewing’ with shoelaces?  I looked everywhere for them for my daughter’s class and had no luck, so figured I’d better make my own.  The beauty of this project is that it’s easily personalized.  Use a name, a photo, a bit of original artwork…whatever you have on hand!

Materials:  Mod Podge and paint brush, hole punch, paper for the background, thin cardboard (such as a Yoplait box or the cardboard backing of a notepad), shoelace or thick string, scissors or rotary cutter.
Optional:  photo or letters or artwork (to make the project personal!), bead, brayer

 Let’s Do It!
1.      Using the paint brush, apply a thin layer of Mod Podge to the cardboard.  Place the background paper on the cardboard and flatten.  Do your best to work out all the air bubbles.  Use a brayer if you have one (not required).  Allow to dry. 

2.      Repeat with the opposite side of the cardboard.  Allow to dry.

3.      Using the paint brush, apply a thin layer of Mod Podge on top of the background paper.  Lay the photo/letters/artwork as desired and smooth with your fingers, working out all air bubbles.  Allow to dry.


4.      Using the paint brush, apply a final layer of Mod Podge over the entire top.  Allow to dry.

5.      Cut out your design as desired.  Mine were all straight names so I used my rotary cutter (yup, definitely needed a new blade after this project).


6.      Punch holes as desired throughout the project.


7.      Knot the end of the shoelace several times to keep the lace from pulling through the project. If you want to add a bead (not required), add the bead and then knot again in front of the bead so the bead will not come off.  I thought having the bead made it a bit more fun and would also help the string not pull through the project.


8.      Have at it!

9.      And if you’re like me…if one is good, fifteen is better.  Mama went a little overboard on this one, eh?


If you make any lacing cards, I would LOVE to see them!  Please take a moment to upload photos on my Flickr site:

Feel free to make as many of these as you’d like for personal use only, and give credit where credit is due.

April 12, 2011

Preschooler Library Tote Tutorial

An easily printable copy of this tutorial is found at:
http://www.scribd.com/doc/52856324/Preschool-Tote-Public

I love tote bags for little ones.  No pesky zipper to slow you down!  Of course, that does mean your cherished dolls or cars may fall out at any moment, but it’s a risk we take around our house.  The problem is that most tote bags are too big for preschoolers.  Even the bag my daughter’s preschool gave her is too big.  I measured her school bag, downsized it, and found a better size for her.

This idea isn’t new.  I’m sure you can find several similar bags out there.  I love this one by Noodlehead:
http://www.noodle-head.com/2010/08/library-tote-tutorial.html
And I really liked the idea of having a place for your library card like this bag:
http://whipup.net/2010/10/06/2010-whipup-guest-blogging-series-library-tote-tutorial/

If you’d like to make one like ours, here you have it:

Materials
Lining Fabric:  Cut 2 rectangles 12.5” x 13.5”(bag lining), cut 2 rectangles 3.25” x 4.75” (card holder), cut 2 rectangles 12.5” x 7” (outer pocket), cut 2 rectangles 4” x 20” (straps)
Outer Fabric:  Cut 2 rectangles 12.5” x 13.5”(outside of bag), cut 1 rectangle 4.5” x 4”( Velcro closure)
Clear Vinyl: Cut 1 rectangle 3.5” x 2.25”
Velcro:  (whatever width you have on hand – I used ¾”) Cut one piece 1” long
Interfacing:  If you choose a lightweight fabric (such as cotton) for your lining or main fabric, I suggest using interfacing on the main parts of the bag: outer bag, bag lining, outer pocket.  You’ll be much happier with the result if you do!
Seams: I used 1/4" seams throughout.

Let’s Sew!!
1.      Apply interfacing if needed to the pocket, outer or lining fabrics of the bag.

2.      Bag Lining:
  • Place the two 12.5” x 13.5” lining pieces right sides together.  Sew both sides of the bag (13.5” sides) and bottom of the bag (one of the 12.5” sides).  Leave a 5” opening along the bottom to turn the bag once it is assembled. 
  • Realign one of the bottom corners of the bag – fold out the corner so that the seams lie on top of each other.  Cut off approximately 1” of the bottom corner. 

  • Sew the resulting opening closed.  Repeat with the other corner. 


Boxing the corners like that will help give your bag some structure.  Set bag lining aside.


3.   Straps: (perform this step for both straps)
  • Fold the 4” x 20” fabric lengthwise and iron to form a crease down the middle. Open the fabric.
  • Fold over each edge to meet the middle crease and iron. 


  • Fold again at the middle crease and iron. Topstitch 1/8” from each side. Set straps aside.

4.      Pocket:
  • Place the two 12.5” x 7” pieces right sides together and sew along one of the 12.5” sides only.  Open fabric and fold back at the seam.

  • Iron or finger press, and topstitch 1/8” from the edge along the seam only.  This will be the top of your pocket.


  • Lay one of the outer bag pieces right side up.  Align pocket with the bottom edge of the outer bag piece and baste in place along the three raw edges.  Set aside.


5.      Card Holder:
  • Place the vinyl in the BACK center of one of your 3.25” x 4.75” pieces and stitch in place.


  • Carefully cut the fabric from the front of the vinyl.
  • Use a small zigzag stitch to keep fabric from fraying around the edge of the vinyl.
  • Fold over ¼” of one of the short (3.25”) sides and iron. Be careful not to iron the vinyl!  Straight stitch or zigzag stitch in place.


  • Lay vinyl piece on top of the other 3.25” x 4.75” rectangle (both right sides facing UP), aligning the three unfinished sides.  Fold the three unfinished edges under by ¼” and carefully iron.


  • Pin the card holder to one of the outer bag pieces (mine is on the same side as the pocket) and sew around outer edge.  Be careful not to sew the card holder closed!


  • Use a tight zigzag stitch along the raw edge at the side to prevent fraying.


6.      Velcro Closure:
  • Sew one side of the Velcro to the top middle of the outer bag piece you have been working on.  I placed mine approximately 5.75” from the left edge, and ¾” down from the top edge.  Set bag piece aside.


  • Create the tab for the opposite side of the bag:
    • Iron, fold, and topstitch the 4.5” x 4” piece of fabric in the same way as the straps in step 3.  If you are using a fabric that frays, either fold one end under, or zigzag stitch the end since it will be exposed.
    • Sew the opposite piece of Velcro to the finished end of the tab.


    •  Baste unfinished edge of the tab (Velcro side facing out) to the right side of the other outer bag piece (see photos in next step).

7.      Baste Straps in place:
  • For each outer bag piece, baste one of the straps 2” from each edge.  Be careful not to twist the strap.


8.      Sew Outer Bag:   Right sides together, sew around sides and bottom of the outer bag pieces.  Realign bottom corners of bag, cut off a 1” triangle as you did to the lining in step 2 and sew the openings closed.  Turn outer bag piece right side out.

9.      Sew Lining to Bag (YOU ARE NEARLY DONE!!!):
  • Bag lining should be inside out.  Outer bag should be right side out.  Place the bags right sides together (put the outside tote bag INTO the lining piece) and sew entirely around the top of the bag.  Make sure straps and Velcro tab are pushed to the inside!


  • Turn bag right side out through hole in lining.
  • After making sure everything is where you want it, sew the lining hole closed.  You can do it by hand, but it’s on the inside of a bag for kids, so mine are sewn by machine!
  • Push lining into the bag and topstitch around entire top of the bag for a finished look.
Step back and admire your handiwork!  That is, if your preschooler gives you a chance before claiming the bag...


If you make a tote bag, I would LOVE to see it!  Please take a moment to upload photos on my Flickr site:
http://www.flickr.com/groups/betweenthetoys/

Feel free to make as many of these as you’d like for personal use only, and give credit where credit is due.