

A great thing about Jake is that his outfit is supposed to be a bit ‘scrappy’…..so I didn’t bother finishing off any of the raw edges. I simply zig-zag stitched everything (I’ll spare you from writing that in basically every line of the instructions). Adds to the Jake allure, in my opinion!
You could certainly add Jake’s boots and a sword, but since there’s no way my 2 year old is going to wear them, I’m not making them this year. Maybe someday I’ll do those as well and update the tutorial. Time will tell.
If you would like an easily printable version of this tutorial, one can be found at:
http://www.scribd.com/doc/70680698/Jake-and-the-Neverland-Pirates-Costume-Tutorial-Public
Here’s the
basic how-to:
Shirt:
- Make a pattern from a t-shirt for the
shirt body (cut on a fold at the left side) as well as the sleeve (cut on a
fold at the top).


- Cut out white fabric for Jake’s shirt
and sleeves. Cut off the bottom 4 inches
of the white shirt in prep for the next step.
- Cut two 4 inch rectangles of black
fabric to use as the bottom of Jake’s shirt.
Cut the 4 inch rectangles the length of the bottom of the shirt front (or
back).
- Right sides together, sew one of the black
rectangles to the front shirt piece and the other rectangle to the back shirt
piece. Iron the seam flat.
- Right sides together, sew the shirt
front to the shirt back at the shoulder seams.

- Right sides together, sew the shirt
at the side seams.
- Cut a v-shaped notch in the neckline
at the front of the shirt.
- Sew the underarm seam of the
sleeve.
- Cut a v-shaped notch on the front
side of each sleeve.
- Matching underarm seams, pin the
sleeve to the shirt right sides together, and sew sleeve into the shirt.

- Using a piece of black string or
yarn, sew the ‘x’ detail to the front v-shaped notch on Jake’s shirt.

Admire your handiwork! You’re halfway done!

Vest:
- Using the pattern you created for
Jake’s shirt, add a collar (for the back) and a collar with extension (for the
front).
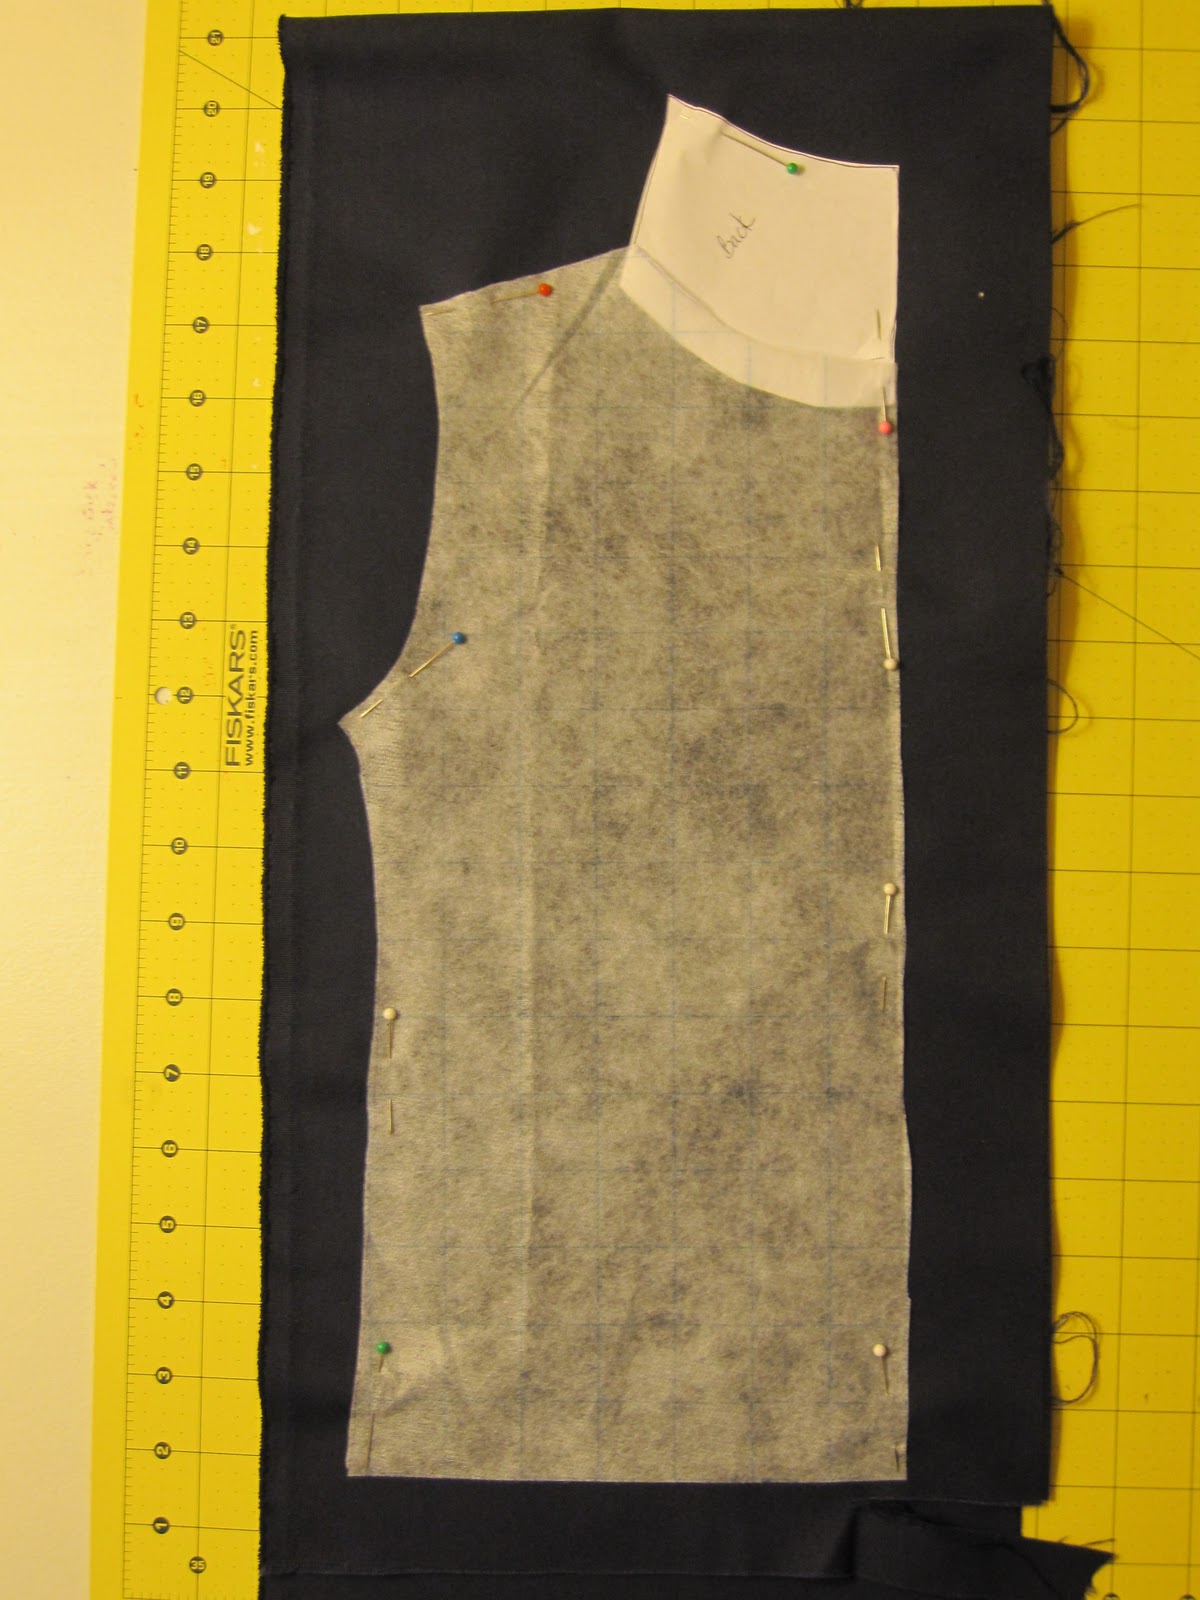
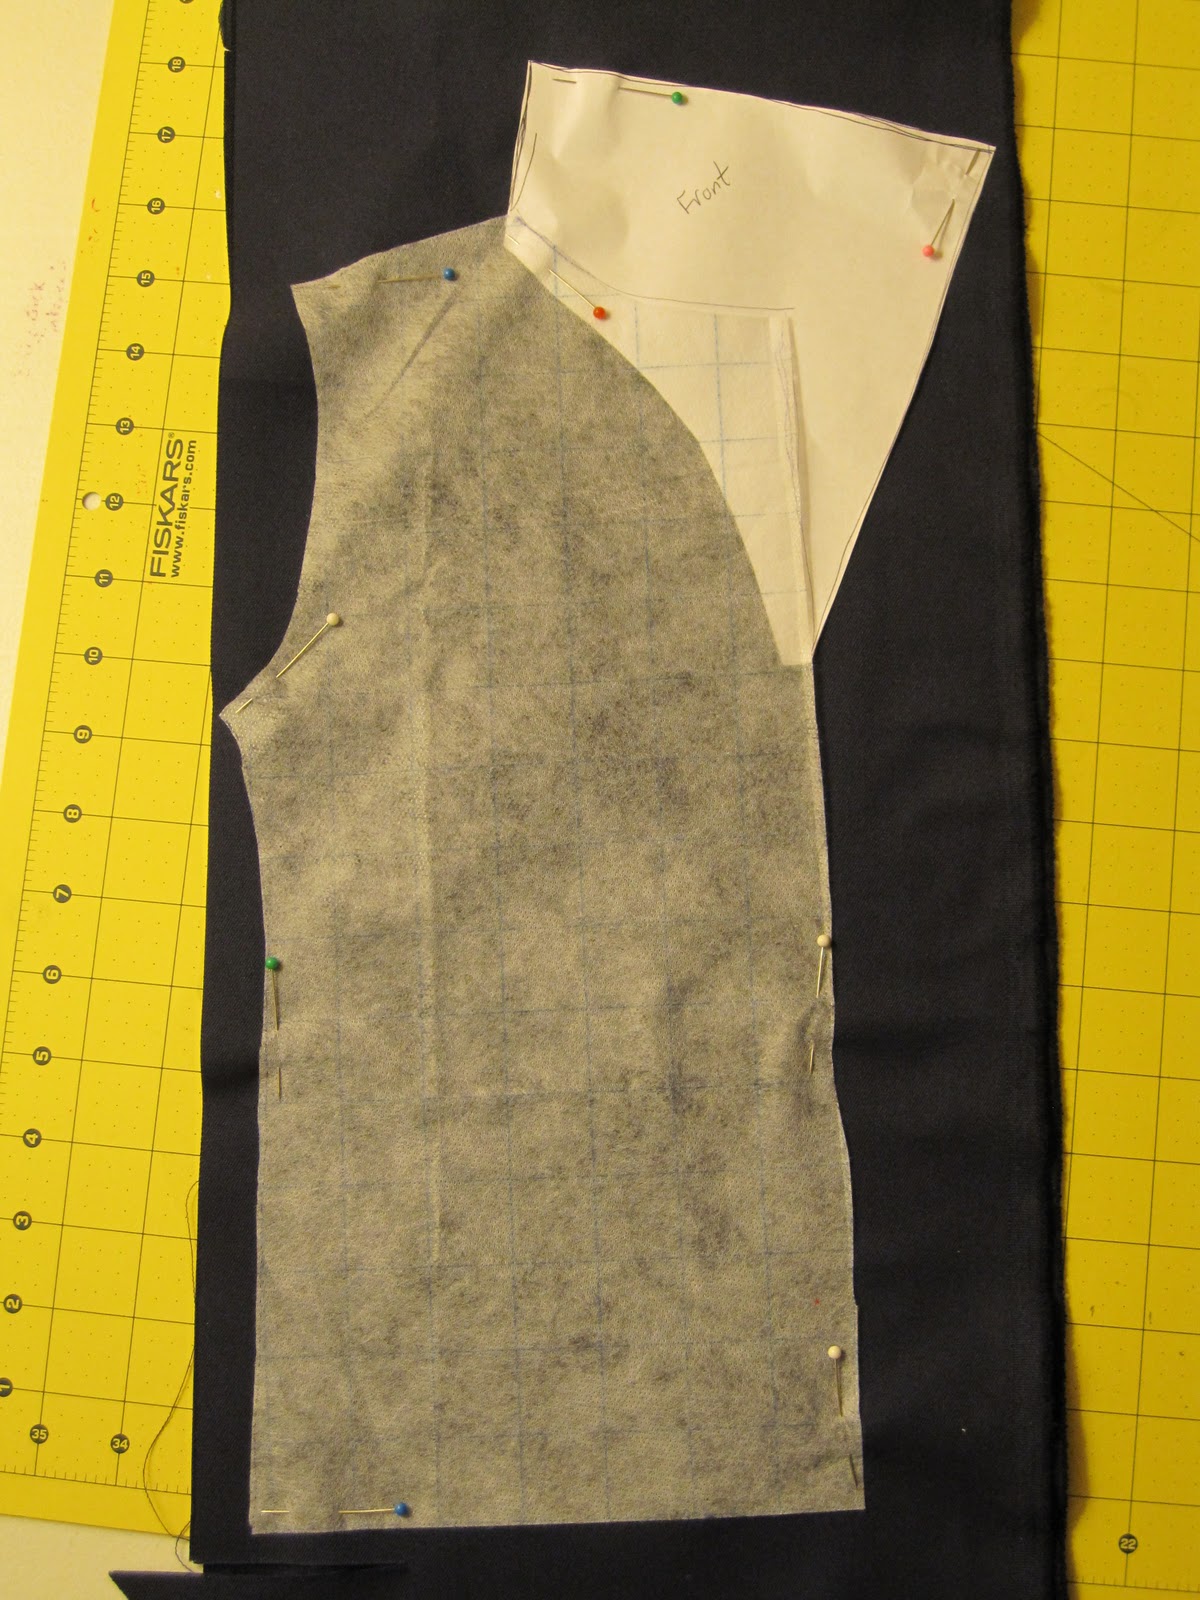
- Cut the back piece on a fold, but
remember you will need TWO separate front pieces since Jake’s vest is open at
the front!
- Right sides together, sew one front
piece to the back piece at the side seam and the shoulder (from the top of the
arm hole to the tip of the collar).
Repeat with the other front piece.

- Cut a 1-inch strip from yellow fabric
for the edging on Jake’s vest. Since it
will need to be long enough to go around the entire edge of the vest, make sure
you cut enough length. I had to sew
several strips together to make it long enough.
Zig-zag both edges of the strip and iron in half to create a crease.

- Sew the edging around the entire
outside edge of Jake’s vest. I started
at the back middle of the collar – next time I’d probably start at the back
middle of the bottom of the vest.


My Jake vest had a seam down the middle of the back…I didn’t have enough
navy blue fabric for the entire back, but I made it work!
- Sew four yellow buttons (or sew four
yellow circles, if you prefer).

Headband:
- Cut a 3 inch strip of red knit or any
stretchy red fabric (I used an old red t-shirt).

And there
you have it!

If you make
a costume, I would LOVE to see it!
Please take a moment to upload photos on my Flickr site:
Please give
credit where credit is due.
Fantastic! I had not heard of this show until recently when a friend's daughter wanted to be the purple pirate princess.
ReplyDeletehi there
ReplyDeletei just found your tutorial. can you please tell me how much of fabric you used for the shirt and for the vest. thanks!
It depends on how big your child is! Take whatever shirt you plan to use for the pattern with you to the fabric store and go from there...the folks at the cutting desk will be able to help you. For my son (he's about a 3T) it took about 1/2 a yard for the shirt (and the same amount for the vest).
DeleteThank you so much for this tutorial! My mom & I made a Jake vest using this pattern, and then we simplified it to create a Cubby vest for my other son. Here's a link to the post:
ReplyDeletehttp://mamasmonkeys.blogspot.com/2012/08/maxs-pirate-party.html
That turned out SO CUTE! Thanks so much for sharing!!
DeleteThis tutorial has saved me! Thanks so much. My little guy HAD to be Jake the pirate this year.
ReplyDeleteI'm so glad this helped! What IS it with Jake, right? Thank you for letting me know!
DeleteMy son is autistic. 23 years old and 6 foot 3 and he insists on being Jake. This is really gonna help me. He already looks like Jake so I'm almost there. hahaha
DeleteVegRN, I love it! I hope it works out!!!
DeleteThis costume came out awesome!! better than any other Jake costume in the stores! I actually ordered one but they had to refund my money.... all sold out! this tutorial saved me, of course my little man had to be Jake this year. Thanks for sharing this with us. Happy Halloween!!! :)
ReplyDeleteLisa, that looks great! I'm so glad your little guy liked his costume! Thanks so much for sharing!
DeleteMy son Miles is obsessed with Jake and I didn't want to spend over $40 for the cheap-looking store-bought costume. So, I googled it and your tutorial was the first (and maybe the only - I didn't need to look further). I used yellow quilt tape for the trim and one 3-yd pack was plenty. I used gold (derblume - sp?) buttons that I found at JoAnn's. I already had the blue fabric left-over from my (now high school age) daughter's school uniform days. I didn't make a shirt, instead choosing to use a plain white T. I made the "belt" (more like a sash) from the same blue material and the headband was one of his outgrown t-shirts (sew a couple strips together). I would have had him wear his Uggs but forgot he outgrew - so Plex shoes it is (as always). No sword for us either.
ReplyDeleteAgain, thanks so much for your great work! I'm going to check out your other projects. I love making stuff for my kids. (photo uploaded to your Flickr)
I forgot to add, I spent less than $10 (mostly for buttons) and it took only a couple hours to complete.
DeleteIs your white shirt made of knit or woven fabric? If woven did you have any trouble getting it on since it does not stretch? Loved your tutorial. Thanks!
ReplyDeleteThanks maryc! When I made the white shirt I used what I had on hand - it was just plain woven cotton, no stretch. But the opening in the neck (because of the cut of the neckline and black string 'x' at the front) was plenty large. And my son has a huge noggin so I can't imagine it being an issue to get on any child's head!
DeleteWhat type of fabric did you use for the vest? I was thinking of using felt, but your pictures look different.
ReplyDeleteMine was just a leftover piece of bottomweight fabric....honestly I think anything will work just fine. It doesn't have to be particularly stretchy or anything. The felt will be nice and warm!
DeleteHow did you make the collar extension in the back and front? I cannot get mine to look right. I'm working with a 4t-5t, but it's just not wanting to lay right.
ReplyDeleteHonestly, I just eyeballed it.....you can see the shape in the picture. Is it the shape or the fabric that is giving you issues?
DeleteThanks for your tutorial, I will try this for my son. I will used non woven fabric, it's very cheap here in Mexico and I have used it on many costumes before, it's very easy to use!
ReplyDeleteI was wondering, for the vest can u explain a littl better of me please? my sons birthday is soon. does the vest come out to be 3 pieces?
ReplyDeleteHi i cant open the link for the pattern. I seemed having a hard time with the vest. Please help. Thanks in advance
ReplyDelete